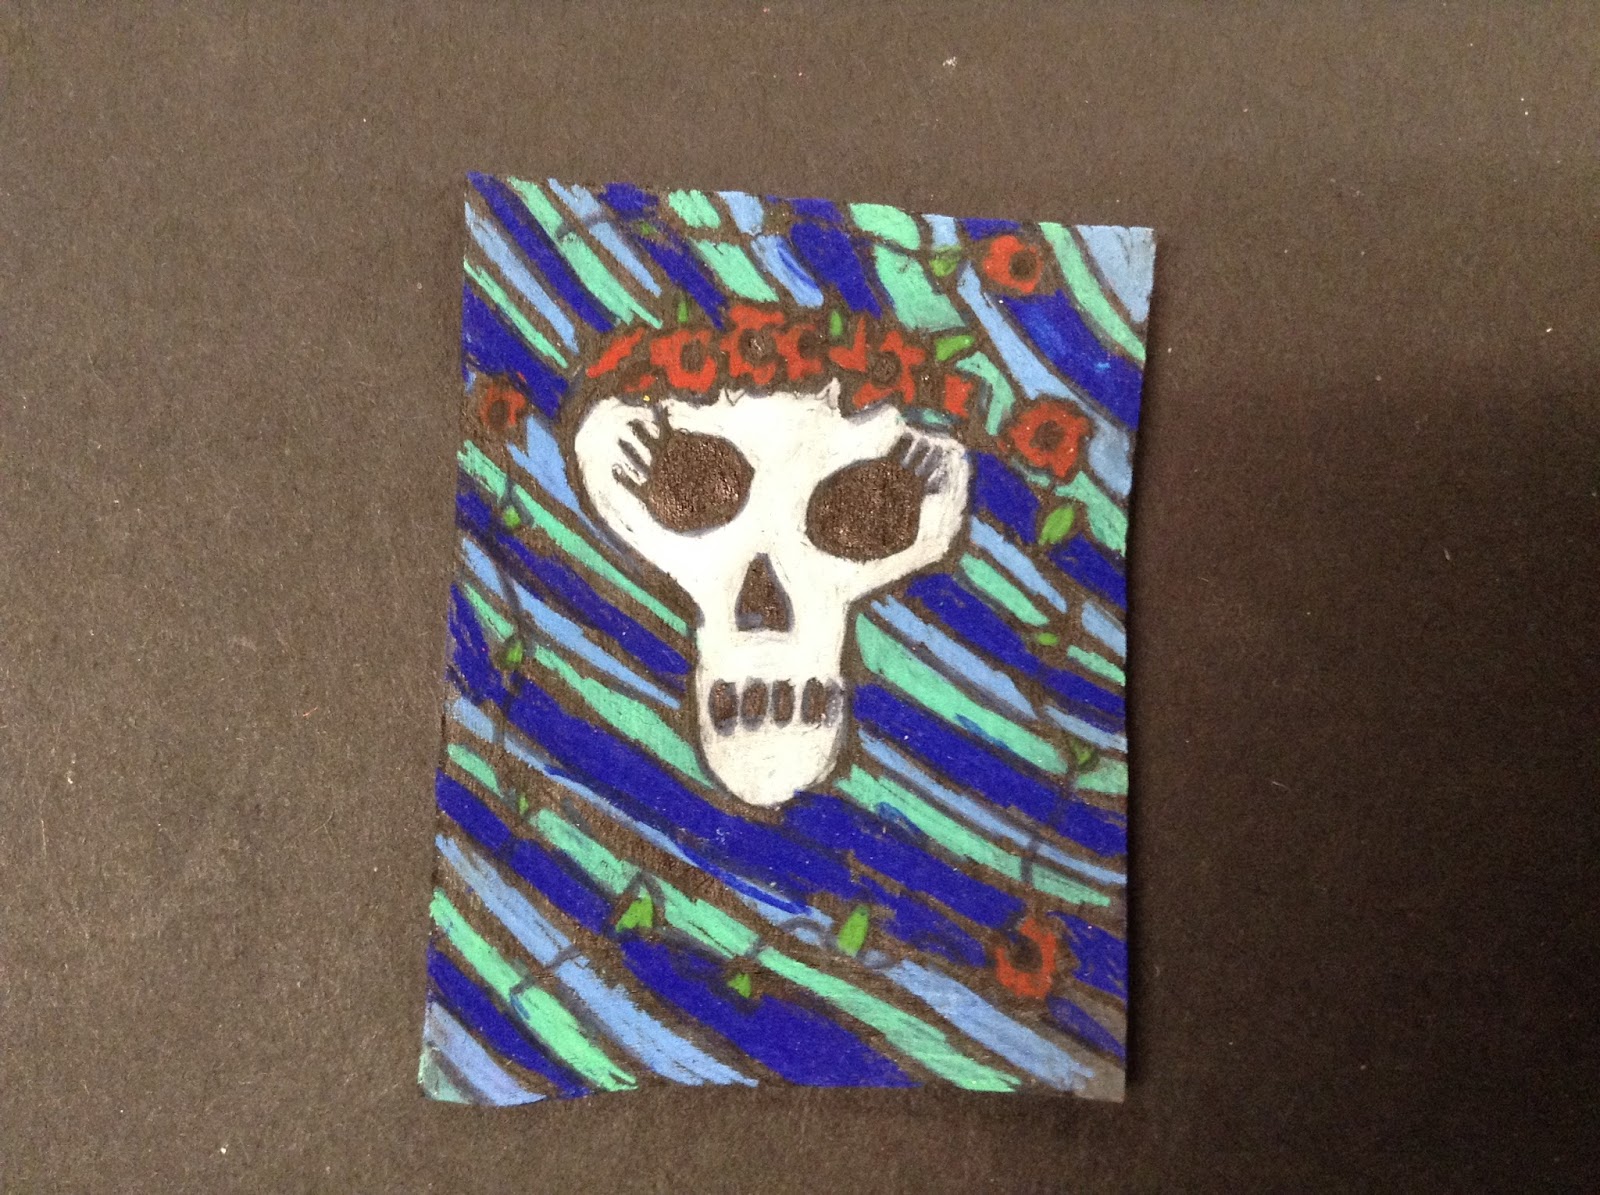
This project is from this fall. It is one that I come back to occasionally. I am a sucker for shrink art, I guess. It is a good quick culture lesson, this lesson is usually just a two day lesson with my 5th graders. We spend one day planning the lesson, drawing out the art on a paper, sanding the shrink art and then tracing the artwork onto the shrink film. Day 2 is tracing the lines with black sharpie and color pencil.
And, as a bonus, this is also a great STEAM lesson.

The sheets of plastic is polystyrene which is recycled plastic #6. The polymer chains are bunched up and clumped together when you get it in the sheets. When they are heated, they are forced to line up in a more orderly fashion. This is their natural state, and the heat is what is activating this process.

I have a small toaster oven in my classroom. When they are done with the color process, I call them up one or two at a time to watch their shrink art.

This way they get to see the process of the shrink film rolling and curling before it flattens itself out. It really is a fun process to watch.
And once it is done, they let me know that their shrink art is ready to come out of the oven.

Once we are done with the display from the art show, I will be putting magnets on the backs so that they can put them on their fridge or someplace visible at home.


